
April 20th 2022
Pentax Zoom 105-R
At the start of the 1990s, every camera brand and department store was putting out a myriad of point and shoot cameras. Convenience was king and these cameras were dominating the market bar none. A smaller portion of this new trend was dedicated to the higher end point and shoot; in terms of features more than its namesake. DLX (Deluxe) was the moniker used by Olympus, but Pentax managed to release a comparable camera within this style. This was the 1991 Pentax Zoom 105-R.


The Shape of the 90s
I do not care for the look of this camera. It screams the 90s and gets louder the closer you look. Unnecessarily large with no corner left uncurved. Featuring a wide variety of black and dark grey slopes at an odd assortment of angles, this camera has a definite style. Surprisingly comfortable in the hand with an incredible weight and solid feel for a plastic point and shoot, this was the top end zoom model for Pentax at the time. One of the things mentioned in an American Photo magazine ad I found was that the zoom 105-R is ‘versatile enough to emulate SLR performance in complex photography'. A bold statement, but given the features and relative competition, I can see what they were trying to get at. This camera is filled with features you did not even know you wanted, and that’s what makes this camera still stand out today.
When off, the 105-R has a built in lens cover and retracts the lens a reasonable amount. This camera takes two of the common for the era CR123A batteries, with a corresponding screwed in door on the bottom of the camera. Looking at the camera’s back, there is a large unconventional switch that needs to be slid up to turn the 105-R on. The lens will extend slightly and the LCD will come to life. Looking at the top of the camera, there are a few buttons to the right of the LCD. Immediately to the right is a button with a lightbulb design on it. This is used to activate the backlight on the LCD display, in the older green tinted style. To the right and below that is a button with a flower on it. This activates the macro setting, fully extending the lens and focusing the camera between 1.35 and 0.75 meters (around 4.5-2.5 feet). There are parallax correction marks when you look through the viewfinder and the flash is optional in this mode. However, that is one of two macro modes. There is a super macro mode as well, hidden under a sliding cover on the left side of the camera, underneath a remote cable release socket. This super mode drastically limits the view in the viewfinder, compensating for the 0.45 meter (around 1.5 foot) focus you can achieve. This mode is flash only, with the focus aid light not active. Both of these modes are represented on the LCD as a flower and a flower with ‘0.45-meter’ text respectively. The last thing on the top of the camera is a standard shutter button.
The camera’s viewfinder has nothing too exciting in it, besides the previously mentioned parallax marks and an autofocus patch in the center. Two LED lights are to the right of the viewfinder and are visible within your peripheral vision; labeled as AF and a lighting bolt. The top AF light will flash green when your focus is not locked and will be continuously lit when it locks focus. You are able to half press the shutter, locking the focus, and recompose a shot as well. Below that is a red LED corresponding to the flash. This will blink when the flash is still charging and will be lit continuously when the flash needs to be used. There is also a graphic on the LCD when a flash is active, or in its various modes.
The Pentax 105-R is a zoom camera and has a somewhat unique control of doing so. Looking to the back of the camera, on the top right hand side, there is a toggle switch for adjusting the zoom. The camera defaults at a wide 38mm (f/4) and extends to a 105mm (f/7.8) telephoto lens. The switch has multiple positions and a few quirks along with it. If you move the switch in either direction, to the first position and hold it there, the camera will zoom to a default number and stop. These are 38-46-55-70-85-and 105. You can also quickly move the switch to zoom up and down by increments of five or push the switch all the way in either direction to move to a number without stopping in between. All of the distances are marked by a graphic and number on the LCD.
Between the viewfinder and on/off switch, there are three colored mode buttons, with a staggering amount of functions related to each. Starting with the yellow button to the right of the viewfinder, this controls the flash and bulb settings. You have the option of automatic flash (the default setting), flash always on, no flash, backlight compensation, bulb mode, and bulb mode with flash. This may seem like a lot, but the center black button also acts as a modifier for each of the other buttons. Within both of the bulb modes, you can hold the black button while moving the zoom toggle switch to choose between 0(0.5)seconds to a 60 second exposure shown on the LCD. The manual also states that you can achieve a maximum exposure time of 60 minutes if you are using the optional remote cable release. The black button also has a function when the camera is in its default mode. If you hold the button down for a few seconds, you are able to compensate the exposure in half-stops up to three in either direction.
The blue button to the right controls exposures and timers. By default, the camera is in single frame shooting, but a press of the blue button puts the camera in a 10 second self timer mode (with a corresponding red LED on the front of the camera), consecutive shooting (at 1.3 frames per second), multiple exposure shooting, and interval shooting. In the self timer mode, when the black button is held and zoom lever moved, this will not adjust the time but the amount of exposures taken, up to five. No special actions can be taken with multiple exposures, other than you have to activate it every time you want to use it. Interval shooting is a less than common feature on cameras, and here it gets very in depth. Each time you press and hold the black button in this mode, you can change one of three options with the zoom lever. The first press and hold of the black button will change when the interval shooting will start, indicated by an S—> on the LCD. This can be changed from single minutes to 10, tens of minutes to 50, and hours to 12. If kept at zero, the time will start in three seconds. Once the black button is depressed and held again, you can choose the interval of shooting (time between pictures taken). This can be from tens of seconds to 50, minutes/hours like before, and an additional option for 24 hours. Lastly, if the black button is pressed and held once more you can choose the amount of frames shot. This number goes to 36 but if the number is set to zero, it will shoot until the roll is finished.
Lastly, I would like to mention a few outlying features and accessories for the 105-R. There is midroll rewinding, by a protected button on the bottom of the camera, as well as a switch near that for red eye reduction with flash, and an off center tripod socket on the bottom. The camera reads DX coded film from an ISO of 25-3200, has a shutter speed of 1/3 of a second to 1/250th, and can focus from 1.35 meters (around 4.5 feet) to infinity when not in macro modes.
The LCD is very detailed and has a graphic for almost everything the camera does. It will always display the frame you are on even when the camera is off, and a +/- if you set the camera for compensation. This is the only thing the camera will store in memory, as every time you turn it back on, it resets to the default settings. As I mentioned briefly before, there is a three pin remote shutter release, called the Cable Switch, that you can use for extremely long bulb exposures. There was also a standard date back for the camera as well.
THE SPECS AND FEATURES
Shutter Speeds - 1/3rd of a second to 1/250th, bulb
Aperture - f/4 at 38mm | f/7.8 at 105mm to unspecified
Meter Type - Automatic
Shutter - Programmed AE electronic leaf shutter
ASA - DX code reader 25-3200 (+/- 3 compenation in half stops)
Lens - Pentax Power Zoom 38-105
11 elements in 9 groups
1.35 meters (around 4.5 feet) to infinity normal autofocus
Macro Mode - 1.35 and 0.75 meters (around 4.5-2.5 feet)
Super Macro Mode - 0.45 meters (around 1.5 feet) with permanent flash
Flash Option - auto flash, flash off, fill flash, bulb with flash, and red eye reduction
Batteries - 2 CR123A
Film Type - 35mm
Other Features - backlight for LCD, stepping or continuous zoom, self timer, multiple exposures, interval shooting, optional cable release, and data back
The Experience
There are a lot of point and shoot cameras that fall into the category of unremarkable and do not interest a vast majority of film photographers. Middle of the road optics on a zoom lens with a bulky overall appearance did nothing to garner my attention. This camera was initially an addition to a ‘lot’ and promptly thrown in a box. However, as point and shoot cameras started to gain more and more popularity, I was looking at what I had around. Every camera deserves a chance to shine, and this camera recently grabbed my attention.
I had forgotten that this camera was included with a fair bit of paperwork, including the original receipt. A grand total of 249.96 USD in 1994 (around 485 USD in 2022). This was from a store known a Service Merchandise Co. in Brunswick ME. I have heard of the name before, I think from recommended repair centers listed in older manuals, but they are far from around anymore. One last thing to note, on the back of the manual there is a timetable of every time the battery was changed on the camera, and the roll that the person was on. I’m shocked to see that the last time the battery was changed and documented was 3/8/2002, and the last time the rolls used were counted was in February of 1998, marked as exposure #1 on roll 99… if true, that’s incredible.
With the camera’s history and clear importance to this person, I felt that I needed to do this point and shoot justice. Camera in hand I decided to sift through the manual to get a rough idea of what the 105-R was capable of. There are quite a lot of features and even more the deeper you look. I wanted to test out every feature I could, to really give this camera a fair assessment.
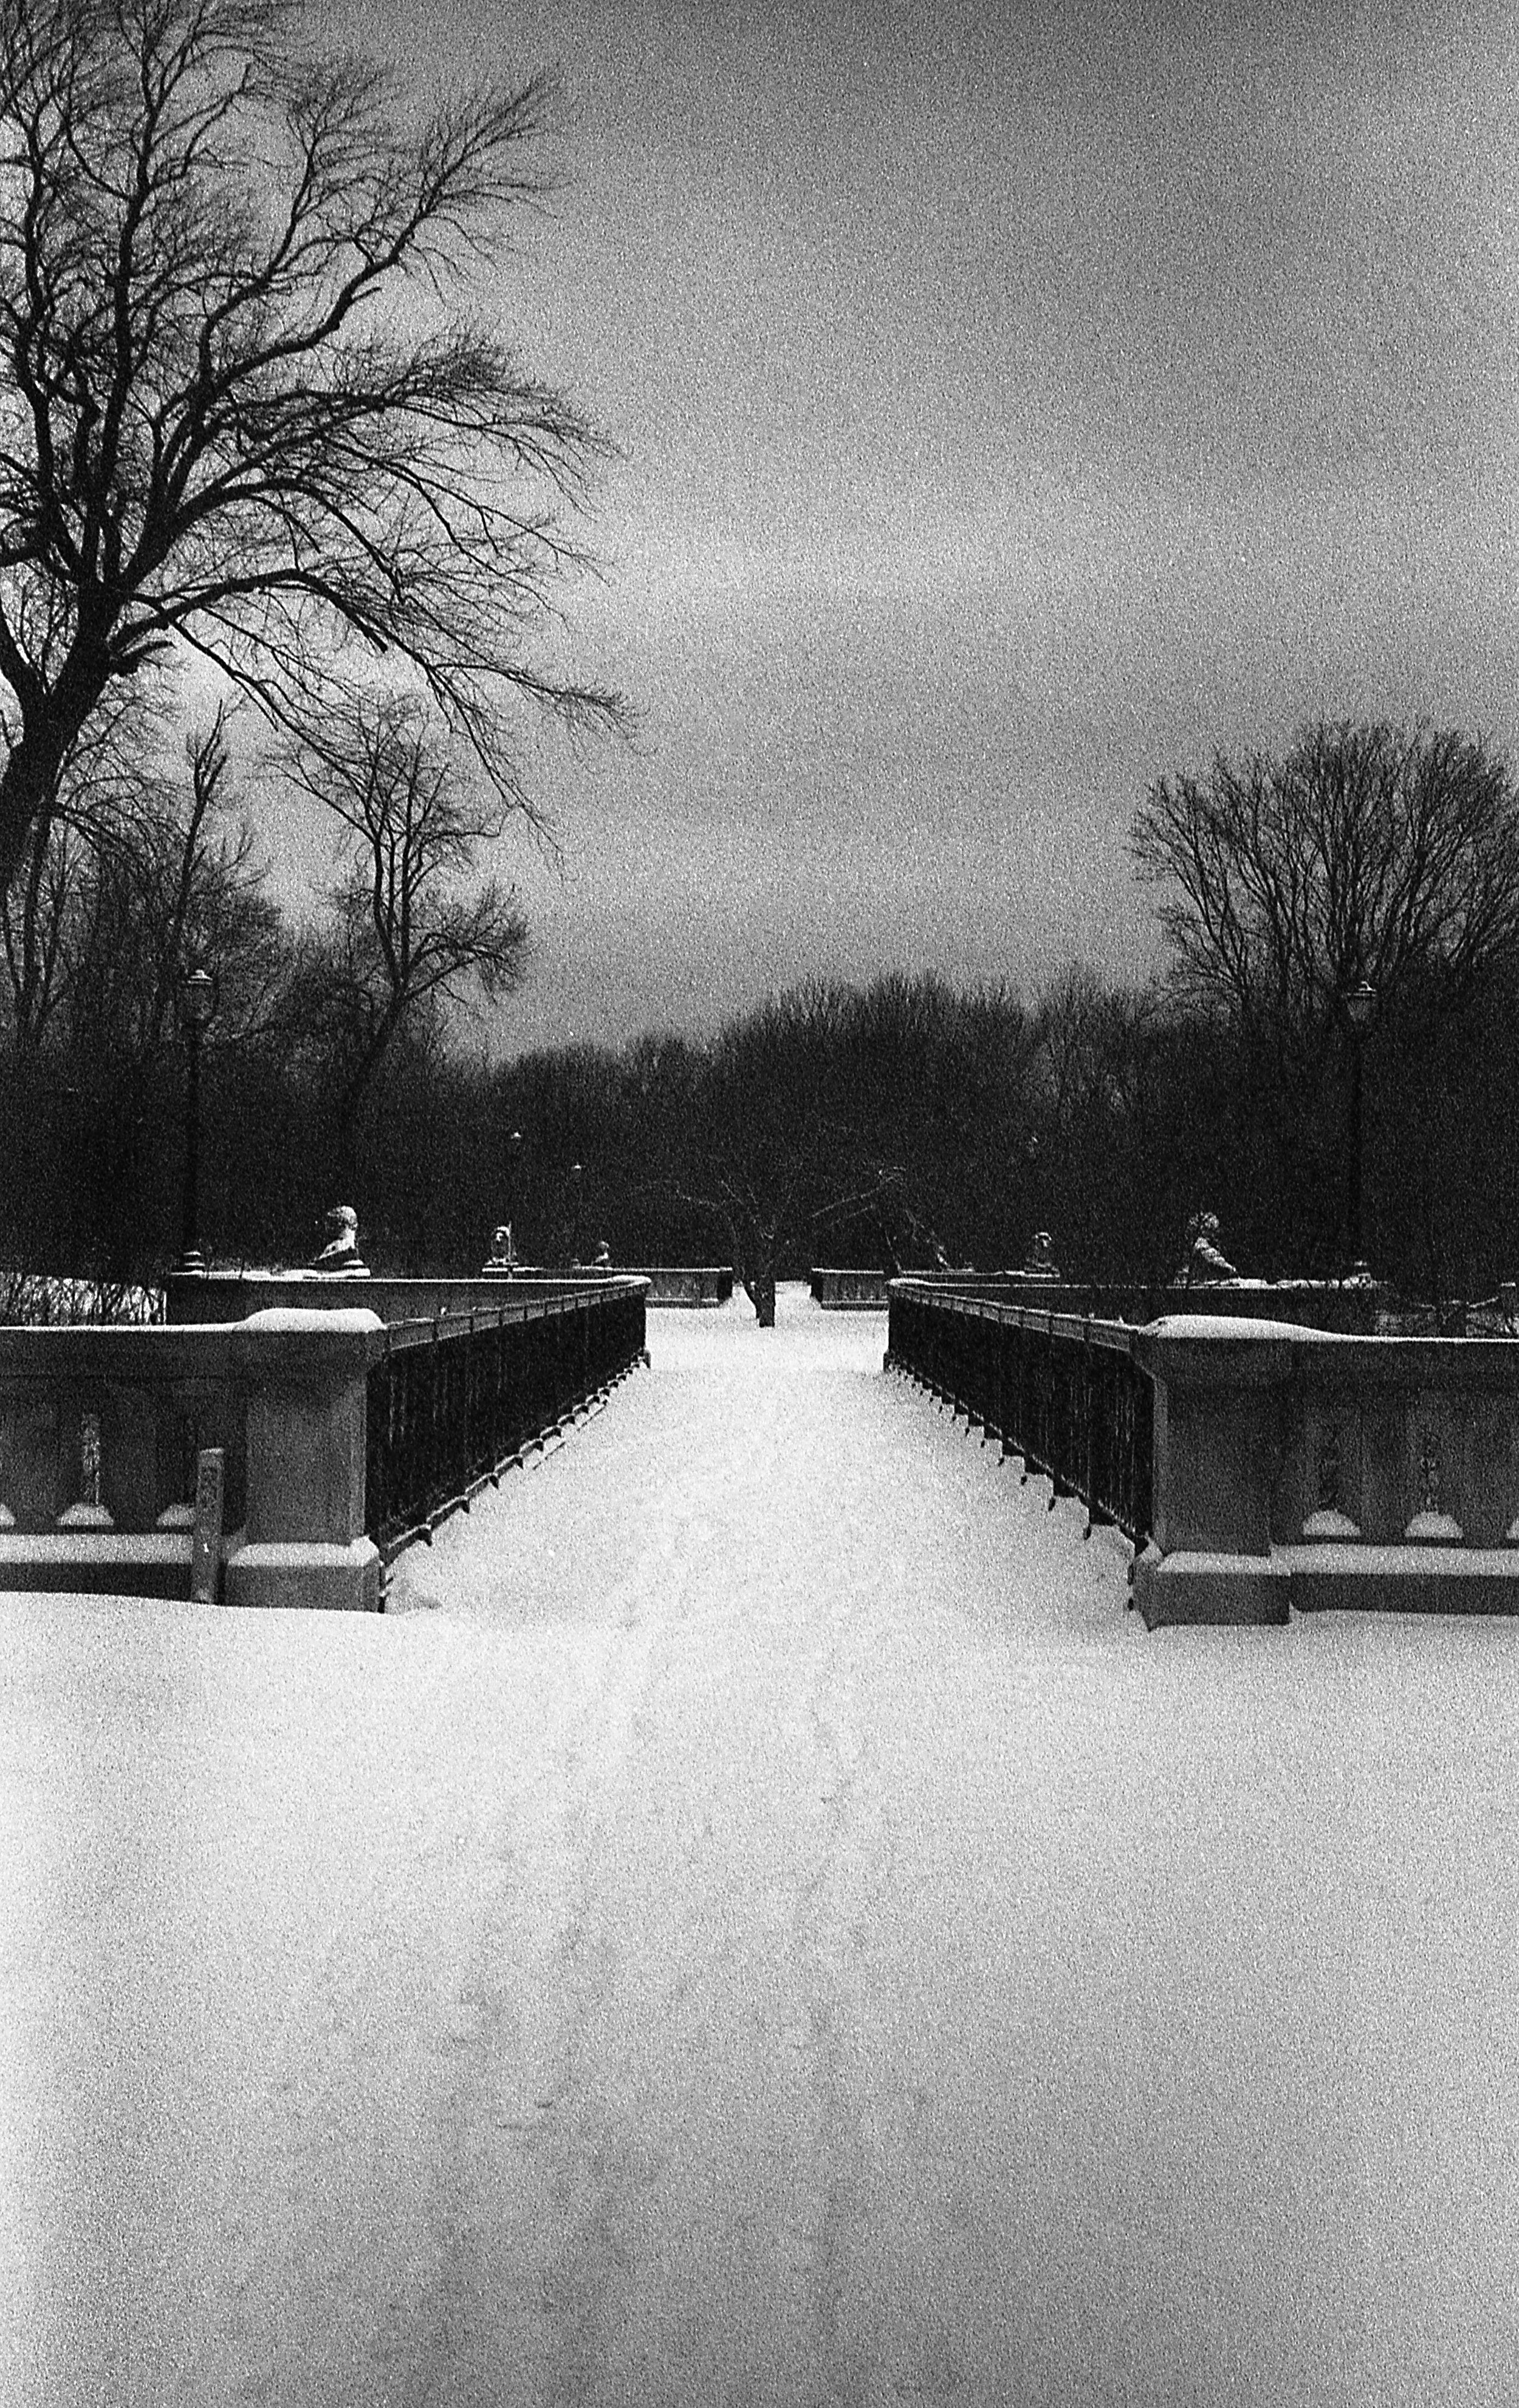
It was slow going at first. There was not much in the ways of subjects around, being the apex of winter. Then as a foot or so of fresh snow fell overnight and the temperature was well into the negatives, I suited up and trudged through the streets early the next morning. There was not a person around, and when I go out and shoot I generally prefer it to be that way. I chose some very expired Agfa APX 400 and pulled it two stops. It was incredibly bright that day and the pictures came out a bit rough, but I feel they captured the mood of how utterly cold it was outside. With the temperature being in the negatives, I expected a few issues, but this camera had zero problems shooting, zooming, or winding film.
I went out a few weeks later with a short roll of color and captured a few more pictures, but nothing really stood out. More weeks went by after that and as the temperature started to warm up, the snow melted and all that was left around was mostly brown. I decided to try the bulb setting with some low ISO color film and took a few shots on an overcast day. Setting everything up is pretty intuitive and I had no problems moving through the camera’s settings. Unfortunately, I brought the wrong tripod and needed to steady the camera on a fence. The pictures turned out a bit dark, but overall I was impressed by the lens’s performance.
Wanting to run the camera through the full gauntlet, I set out with a roll of color and black and white to finish up the tests. However, the color roll was more expired than I realized and there was not even a hint of an image on the roll. The black and white roll was used to test the macro modes, and it too was a failure being mostly out of focus. Disheartening, but I knew I did not want to leave the results there. The next weekend I went out again, repeating similar shots and making sure to not make those mistakes.
Finally success, and pretty good results from the 105-R. I also am coming to the realization that I’m in a phase of mainly portrait orientation pictures; I will have to work on doing more of a mixture of the two. On this roll I also tested the macro and super macro settings again, measuring out distances and using a tripod for each. Normally I use an SLR for macro work and have never really tried point and shoots in their respective macro modes. With these two shots, I’m actually surprised at how well they performed. Crisp images with no vignetting, on expired film pushed a stop. I’m completely floored at how well this worked.
I believe that I gave the Zoom 105-R a chance to shine, and it beat all of my expectations. Seven rolls of film later and only now can I say that I’m only beginning to fully understand its feature set and how to push this camera to be its best. My example pictures are far from the ability I know this camera has and will be testing more in the future. The multitude of modes is truly astounding, even just the ability for exposure compensation is more than a lot of point and shoot cameras have. On the wide end of the lens, f/4 is really not too bad to work with and you have a flash to help that extra bit as well. Macro and the addition of a super macro mode is incredible, a remote release, and even the option of two different bulb modes pushes this camera to a whole new level. I’ve never used an interval shooting mode, but could be a very interesting experiment to try with timelapse photography.
I really didn’t think that I would like this camera. I’ve worked with a handful of 90s zoom cameras and had pretty mediocre results from a fair bit of them. This camera has outshined a large majority of zoom point and shoots in my eyes, and is the new bar for the others to reach. The Pentax Zoom 105-R is an outstanding camera and in a class all of its own, I could not recommend it more.